
Appearance
Installation
Blast 1.1.0 · Krapple Studios · for Paymenter 1.5.8 or newer
A few minutes, start to finish. If something fails, see FAQ & troubleshooting.
What you need
| Requirement | Notes |
|---|---|
| Paymenter 1.5.8 or newer | Tested on 1.5.8 and 1.5.9 |
| PHP 8.3 or 8.4 | Matches Paymenter's own requirement |
| Database | MySQL, MariaDB, PostgreSQL or SQLite — whatever Paymenter uses |
| Node.js | Not required. Assets ship pre-built |
Check the version in the admin footer, or on the server:
sh
php artisan --version
php -v
What is in the package
themes/blast/                the theme itself
extensions/Others/Blast/     the companion extension — Blast Studio, drafts, revisions
screenshots/                 reference screenshots of every main screen
documents/                   the full written guide
The theme renders your storefront on its own, but Blast Studio needs the extension installed and enabled. Install both.
1. Copy the files
On a normal install, copy both folders into your Paymenter root:
sh
cp -a themes/blast            /var/www/paymenter/themes/blast
cp -a extensions/Others/Blast /var/www/paymenter/extensions/Others/Blast
You should end up with themes/blast/theme.php and extensions/Others/Blast/Blast.php.
Docker installs
Copy into the folders your container mounts, then run the commands inside the container:
sh
# from the folder containing docker-compose.yml and the two theme folders
cp -a themes/blast            ./themes/blast
cp -a extensions/Others/Blast ./extensions/Others/Blast

docker compose exec paymenter php artisan optimize:clear
docker compose exec paymenter php artisan view:clear
Keep the folders on a volume
If your theme and extension folders are not on mounted volumes, they disappear the next time the container is recreated. Mount themes/ and extensions/ before you install.
2. Enable the extension
Admin → Extensions, find Blast in the list and enable it.
This creates the extension's own database tables. They only hold Studio drafts and revisions, custom pages, product details, translations and the optional modules. Paymenter's tables are untouched. It also registers Blast Studio.
3. Activate the theme
Admin → Settings → Theme, select Blast and save. Your storefront switches over immediately.
If the old design is still showing, clear the caches and hard-refresh:
sh
php artisan optimize:clear
php artisan view:clear
Then press Ctrl/⌘ + Shift + R in the browser. If you use a CDN in front of your site, purge it too.
4. Open Blast Studio
A Blast Studio entry appears in the admin sidebar. That is where you customise everything — see Blast Studio.
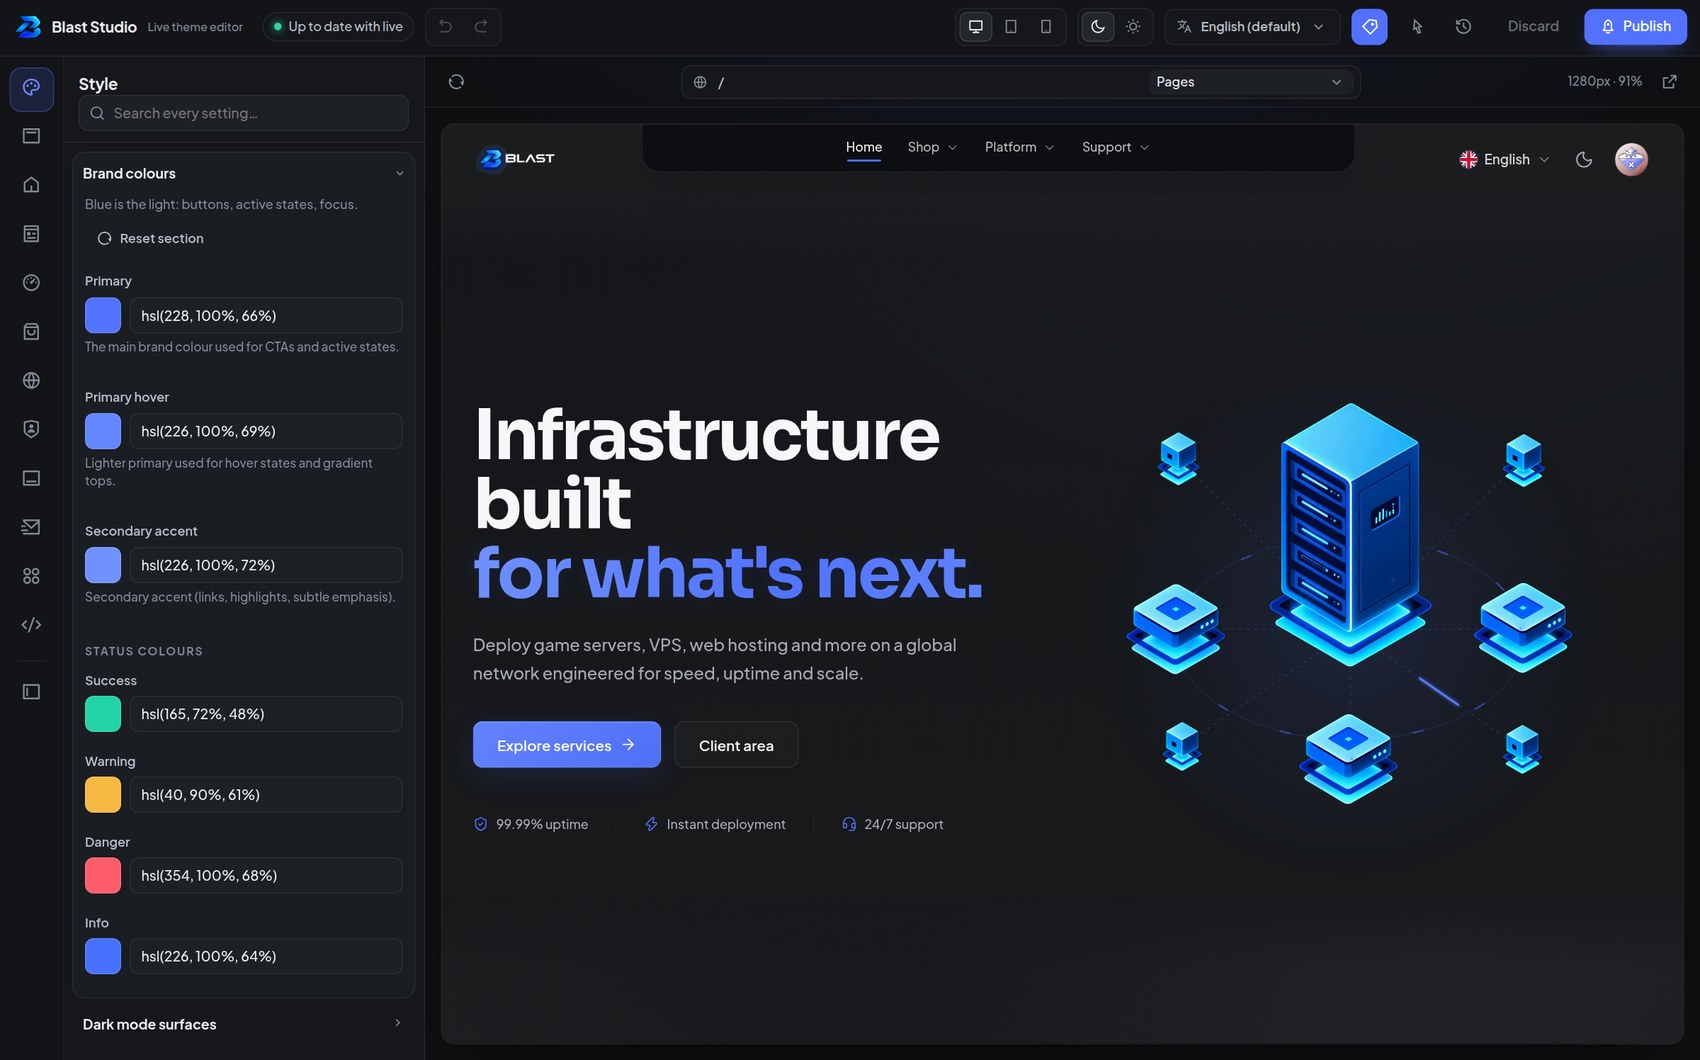
After installing
- Check both colour modes. Use the moon/sun toggle in the header and look at your storefront in dark and light.
- Set your brand. Upload the logo and pick the brand colours — Branding & style.
- Review the homepage. Hide any section you do not need and drag the rest into the order you want — Homepage.
Updating
Theme: replace the themes/blast/ folder with the new version.
Extension: replace the extensions/Others/Blast/ folder. If the update brings database changes, they are applied automatically the first time the extension boots afterwards.
Your settings, Studio drafts, revision history, custom pages, product details and translations are all stored in the database, so they survive updates.
sh
php artisan optimize:clear
php artisan view:clear
Edited a language file?
If you changed a file in the extension's lang/ folder, keep a copy and re-apply it after updating.
File permissions
Paymenter can reset file permissions in some setups — for example after a container restart. If the admin area unexpectedly reports themes or extensions as not writable, re-apply your server's usual ownership and permissions to:
themes/blastextensions/Others/Blaststorage/app/public/blast
This is standard Paymenter behaviour, not something specific to Blast.
Uninstalling
- Switch to another theme in Settings → Theme.
- Disable and remove the Blast extension.
- Delete
themes/blast/if you want to reclaim the space.
Your work is kept on purpose
Studio drafts, revision history, pages, product details and translations live in the extension's own tables. They are kept if you disable and later re-install, so a temporary switch does not lose your setup.