Getting Started
This guide takes a fresh panel from zero to a running VPS. It documents only what is implemented; anything not yet built is called out explicitly.
Operators sign in at the panel login page and then open the PteroCloud section of the admin area.
1. Requirements
| Component | Requirement |
|---|---|
| Pterodactyl Panel | 1.x, PHP 8.2 or 8.3 (the extension's minimum is 8.2.0). |
| Database | MySQL/MariaDB or PostgreSQL (SQLite is supported for evaluation). |
| Redis | Recommended for cache/queue at scale. |
| Web server | nginx (or Apache) with a TLS certificate. |
| A provider | Proxmox VE reachable over HTTPS with an API token, or a host running the PteroCloud native KVM agent. |
Run the compatibility report at any time:
php artisan pterocloud:compatibility
php artisan pterocloud:compatibility --json
Each component is reported as SUPPORTED, UNTESTED or UNSUPPORTED. An
unknown value is UNTESTED, never SUPPORTED. See
Compatibility.
2. Install the extension
- Place the extension at
panel/extensions/pterocloud. - Run migrations (never
migrate:freshon a live install):
php artisan migrate
- Clear caches:
php artisan config:clear && php artisan cache:clear && php artisan view:clear
- Verify the install:
php artisan pterocloud:health
php artisan pterocloud:compatibility
php artisan pterocloud:verify
Full detail, including the production deploy script, is in Installation.
3. Activate the license
PteroCloud's control layer is gated by a signed runtime lease. Activate the license before configuring infrastructure:
KRAPPLE_PRODUCT=pterocloud KRAPPLE_LICENSE_KEY=KRP-XXXXX-XXXXX-XXXXX-XXXXX-XXXXXX \
  php artisan pterocloud:license:activate
The key is supplied only through an environment variable or a protected file, is never logged, and is shown masked in the UI. See License activation and Licensing.
4. Add a provider
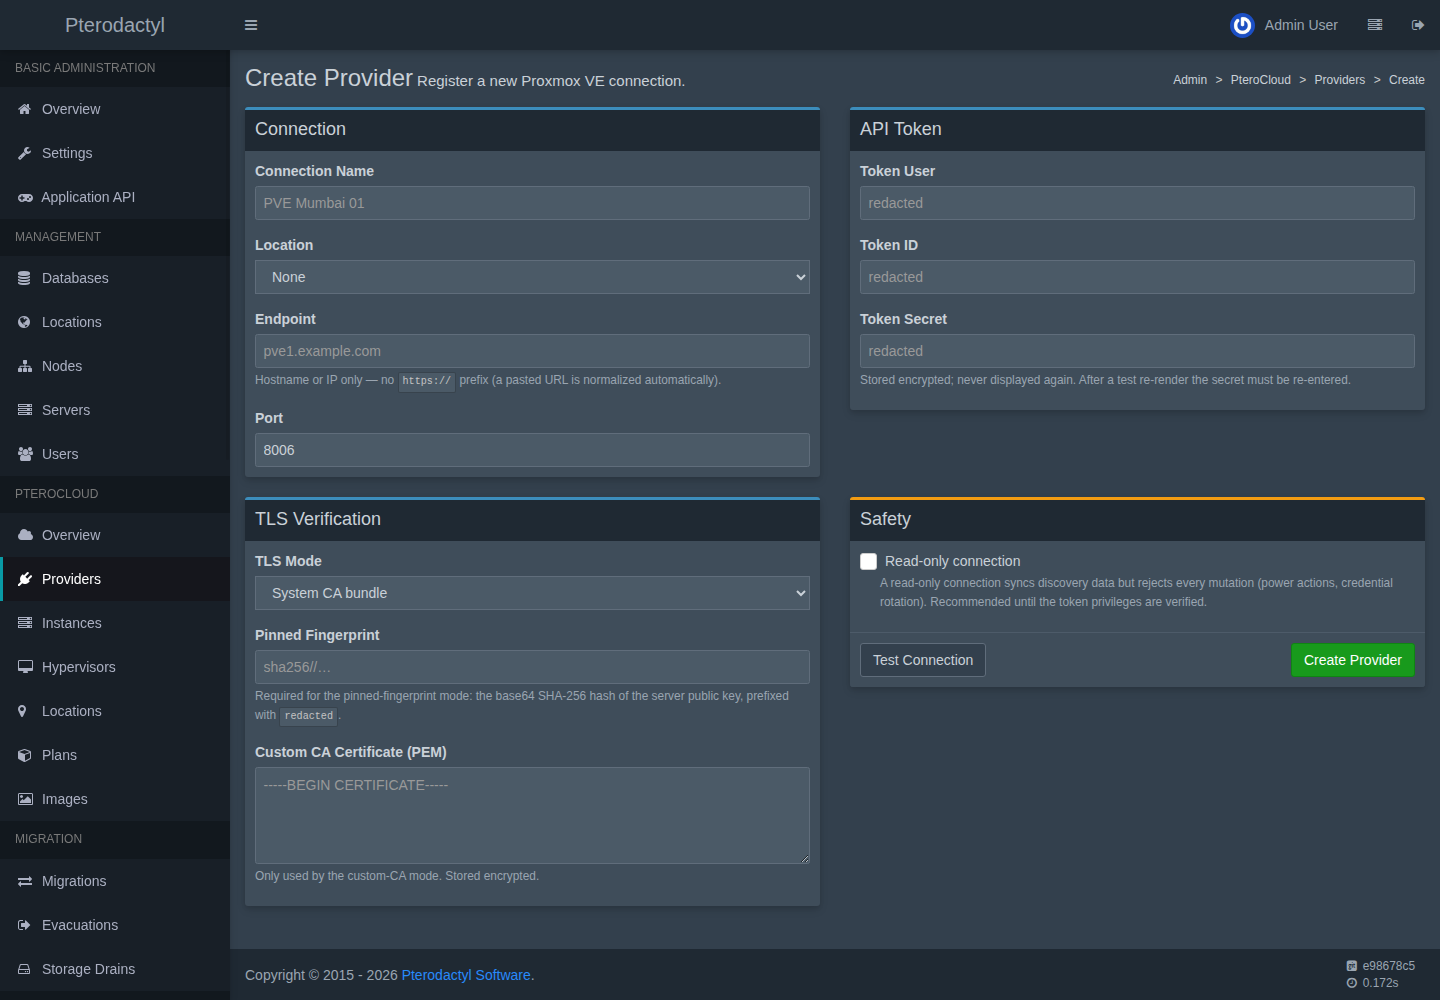
- Open Admin → PteroCloud → Providers and create a Proxmox connection:
endpoint, port (8006) and an API token (
user@realm!tokenid=secret). The token is stored encrypted and is never echoed back. - Use Test Connection to run the DNS/TCP/TLS/auth/permission/version probe. A wrong token reports an authentication failure, never the token.
- Import the nodes you want to use.
For a native host, enroll the agent with a one-time enrollment token instead. See Providers.
5. Add networking, storage and images
- Networking → IP Pools — create a pool from a CIDR and provision it.
- Storage — sync the provider storages and create storage pools.
- Images — register an image and map it to a provider template.
6. Create a VPS
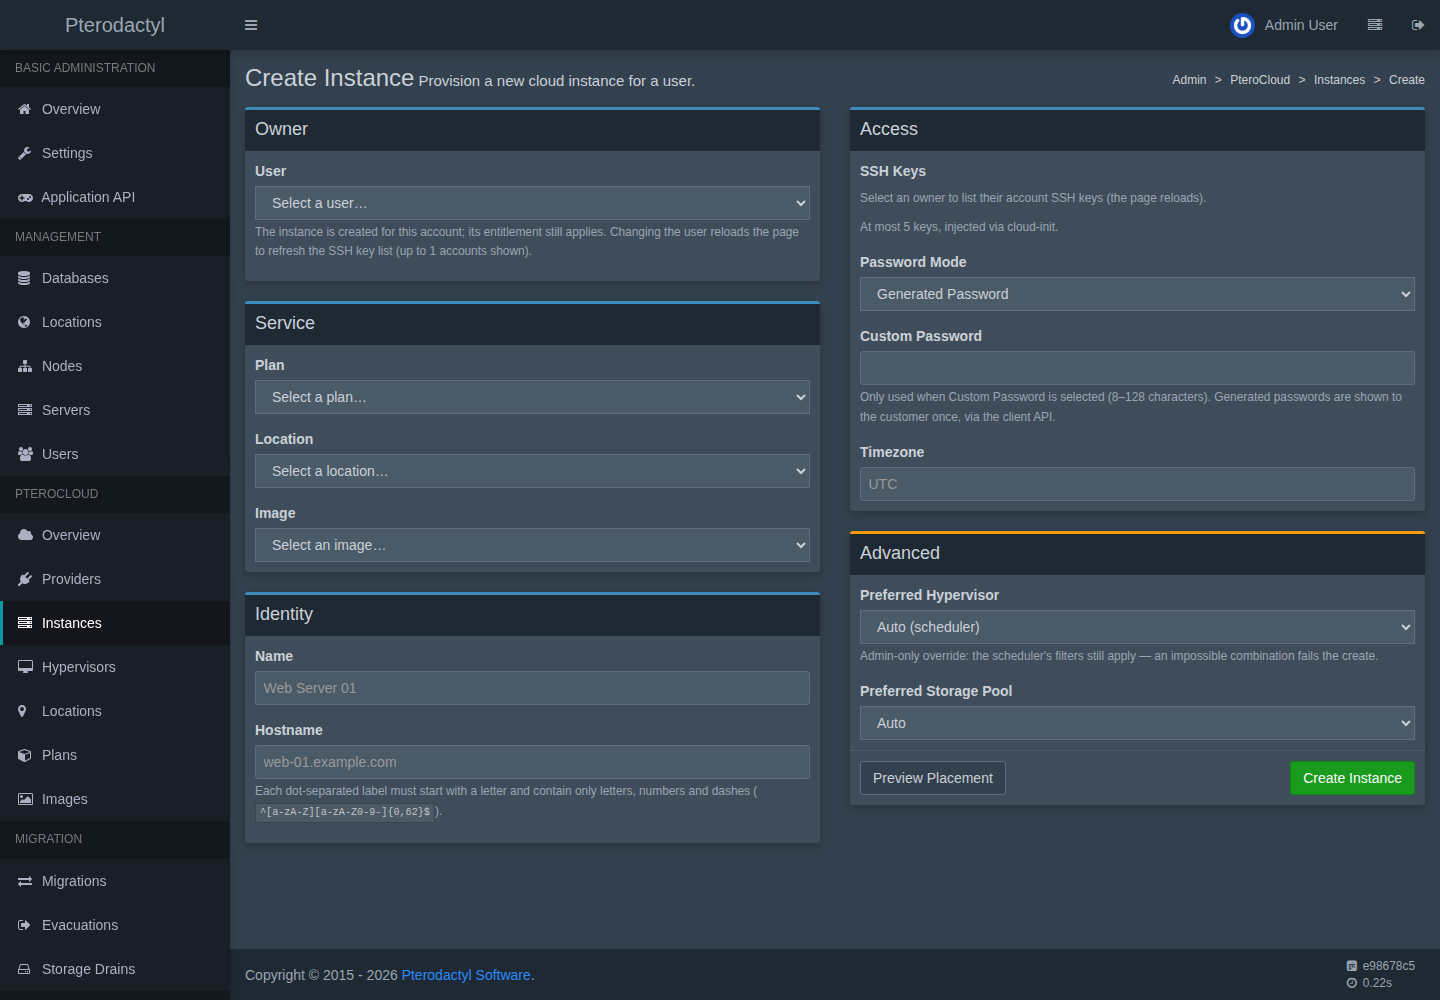
Open Admin → PteroCloud → Instances → Create, choose a location, plan and image, and submit. Provisioning is asynchronous: the task pipeline reports progress and, on failure, rolls back the resources it created. See Provisioning.
7. Operate it
- Diagnostics Center — read-only checks, support bundles and predefined repairs. See Diagnostics & support.
- Support Center — health cards, issues, compatibility and bounded logs.
- Tasks — every asynchronous operation, with a correlated timeline.
8. Get help
- Error codes: reference/error-codes.md.
- Troubleshooting: troubleshooting/.
Next steps
- Installation — the full operator path.
- First-VPS setup assistant — a read-only readiness report.