
Appearance
Installation
Version 1.0.0 · Krapple Studios · for Pterodactyl Panel 2.0
Ten minutes, start to finish. If something fails, see Troubleshooting.
What you need
| Requirement | Notes |
|---|---|
| Pterodactyl 2.0 (beta 2 or newer) | Not for 1.x panels, which cannot run extensions |
| Extension SDK 2.0.0-beta.6 or newer | Ships with the panel |
| PHP 8.3+ | With sodium, curl, openssl and mbstring |
| A storage destination | Any S3-compatible bucket, or an SFTP server |
| Shell access | To run the transfer worker |
| Panel cron | Required for retention, retries and scheduled backups |
Check your versions first:
sh
php artisan --version
php -v
php -m | grep -E 'sodium|curl|openssl|mbstring'
1. Install the extension
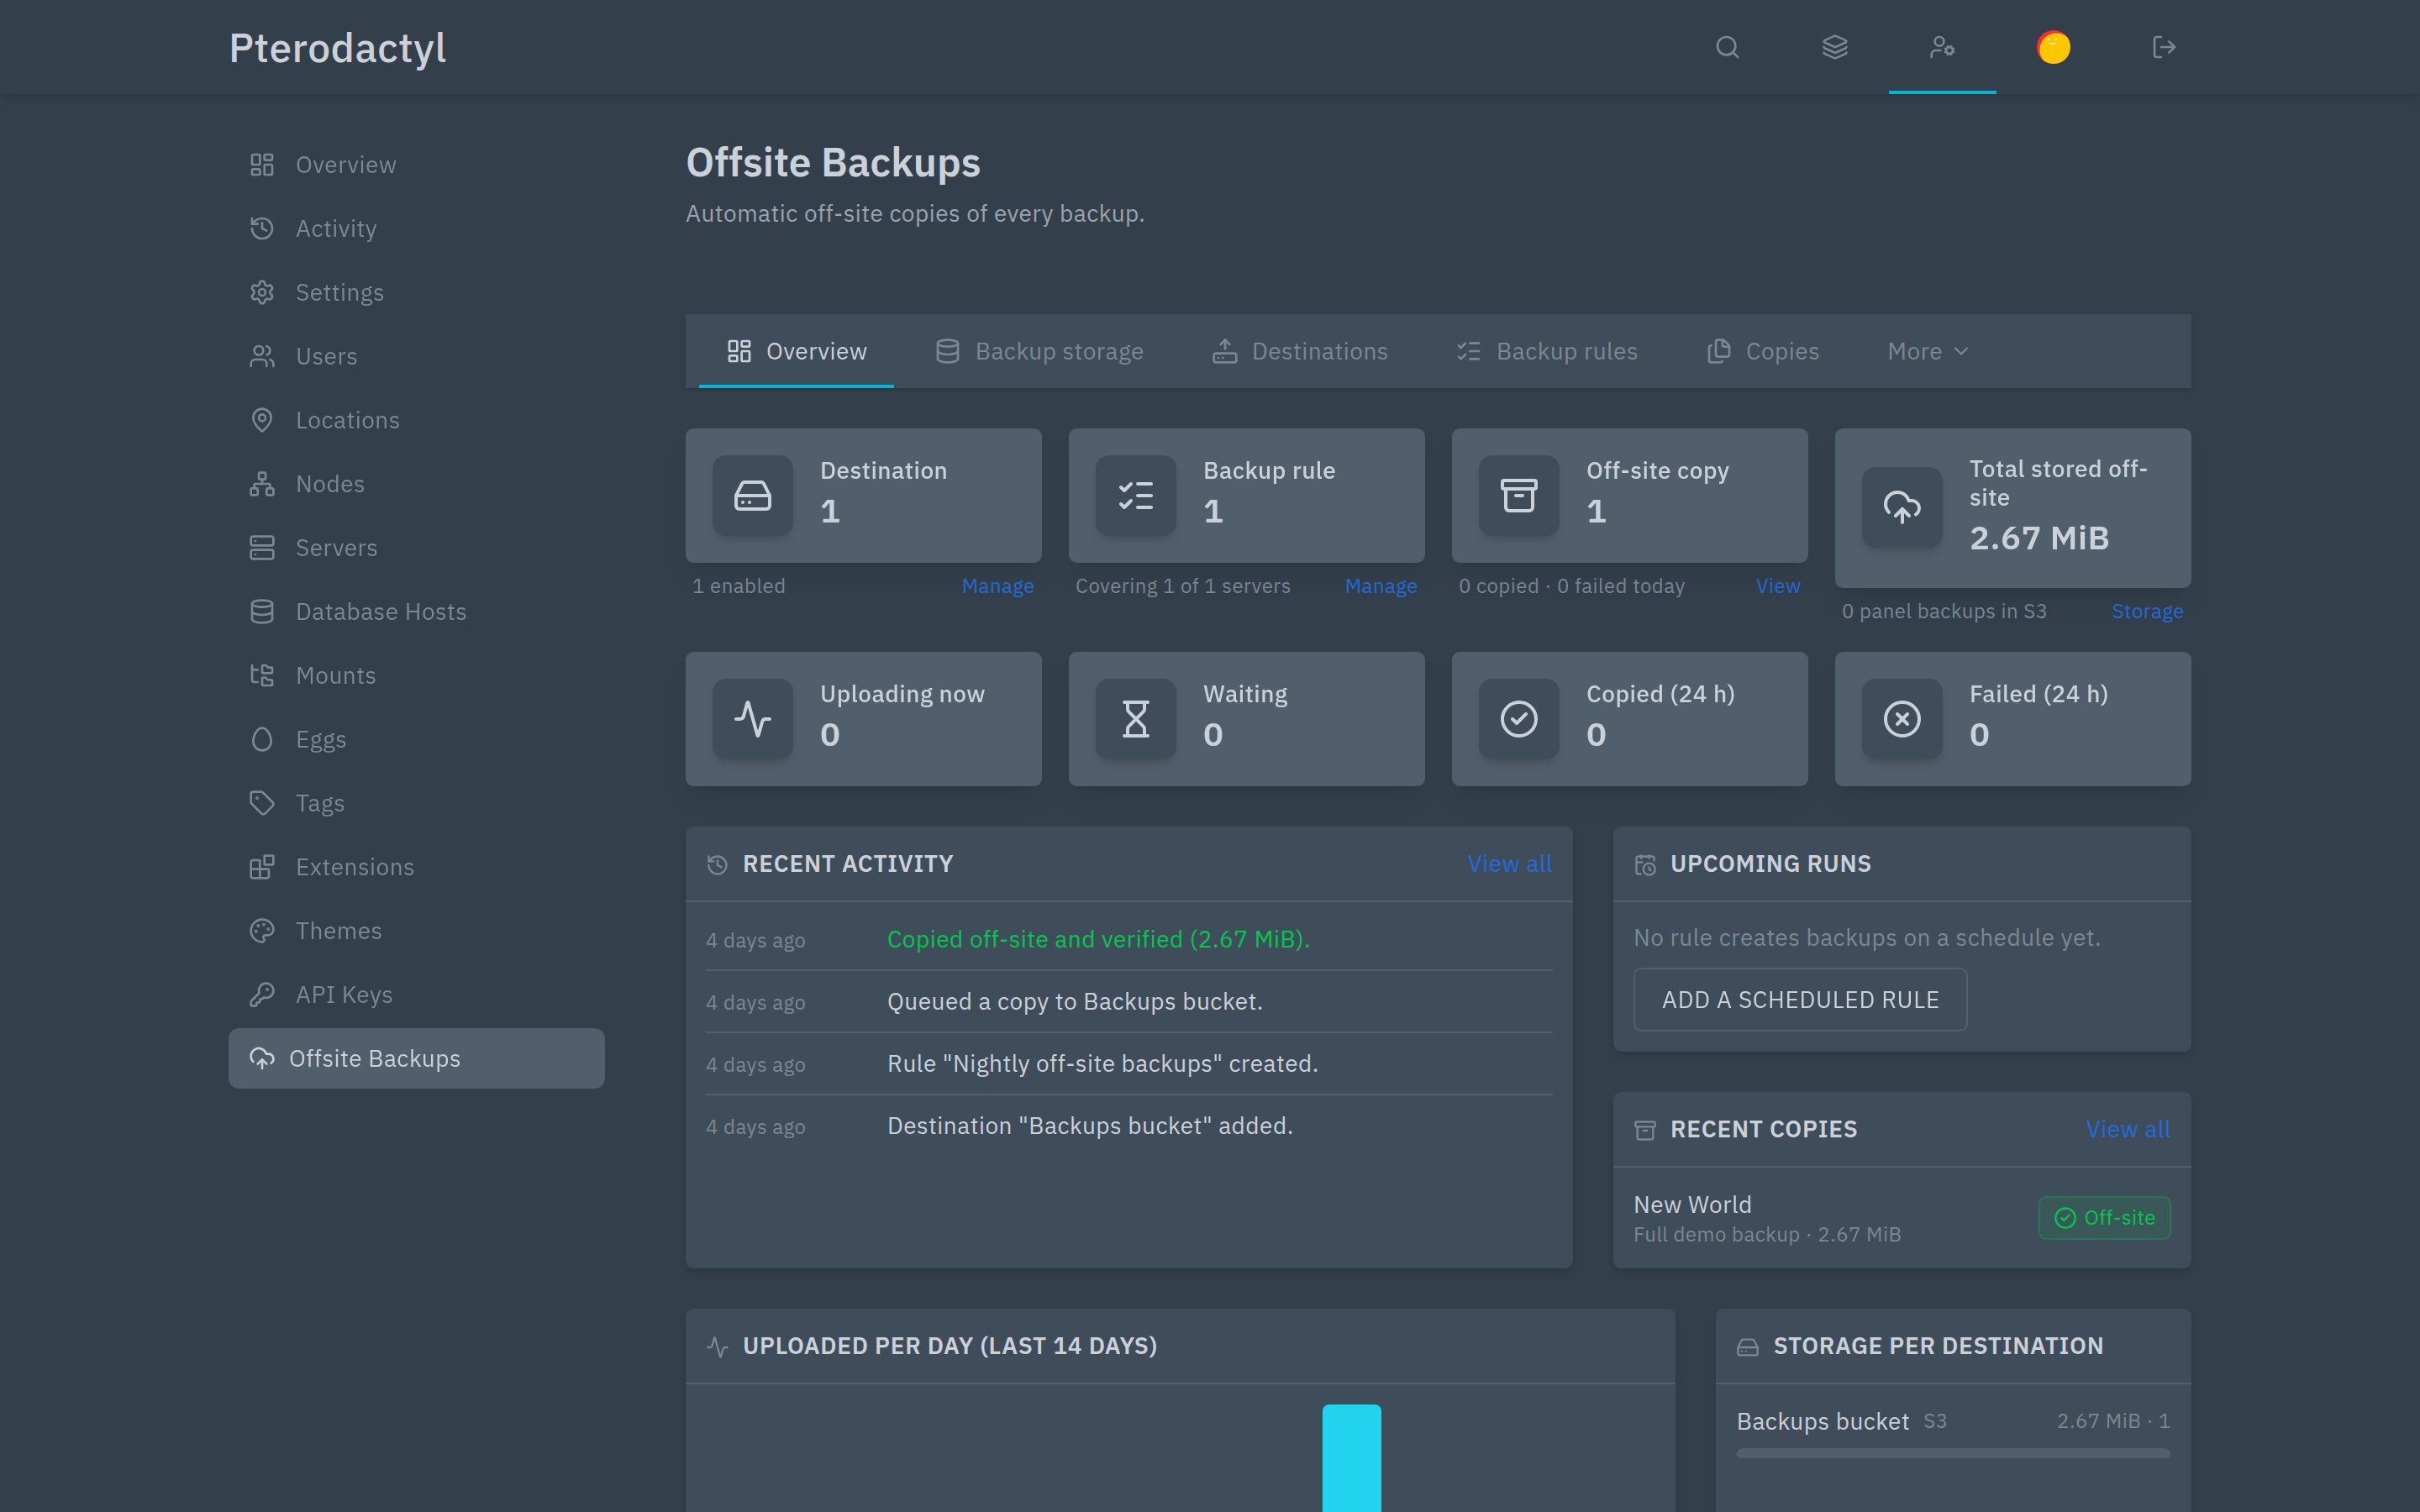
From the admin area
- Admin → Extensions → Install
- Choose
offsite-backups-1.0.0.pteroext - Tick Enable after install
- Reload the panel
From the command line
sh
php artisan p:extension:install /path/to/offsite-backups-1.0.0.pteroext --enable
php artisan optimize:clear
If the Offsite Backups sidebar entry does not appear, clear the cache again and hard-reload the browser (Ctrl+Shift+R).
If the panel runs in Docker
Keep the extension directories on volumes, or they disappear on the next docker compose up:
yaml
volumes:
  - ./extensions:/app/extensions
  - ./public/assets/extensions:/app/public/assets/extensions
Then install from the admin area as above.
2. Start the transfer worker
This is the step people skip, and it is the one that matters. Backups can be tens of gigabytes, and the panel's ordinary queue worker is not suited to transfers that long. Offsite Backups has its own worker:
sh
php artisan offsite-backups:workRun it once in the foreground to confirm it starts, then keep it alive with one of the following.
Supervisor
Create /etc/supervisor/conf.d/offsite-backups.conf:
ini
[program:offsite-backups]
command=/usr/bin/php /path/to/pterodactyl/artisan offsite-backups:work
user=www-data
autostart=true
autorestart=true
stopwaitsecs=3600
redirect_stderr=true
stdout_logfile=/path/to/pterodactyl/storage/logs/offsite-backups-worker.log
sh
supervisorctl reread && supervisorctl update && supervisorctl status offsite-backupssystemd
Create /etc/systemd/system/offsite-backups.service:
ini
[Unit]
Description=Offsite Backups transfer worker
After=redis-server.service mariadb.service

[Service]
User=www-data
Group=www-data
Restart=always
ExecStart=/usr/bin/php /path/to/pterodactyl/artisan offsite-backups:work
TimeoutStopSec=3600

[Install]
WantedBy=multi-user.target
sh
systemctl daemon-reload && systemctl enable --now offsite-backupsDocker
Run a second container from the same panel image:
yaml
  offsite-worker:
    image: ghcr.io/pterodactyl/panel:latest
    restart: always
    env_file: .env
    volumes:
      - ./extensions:/app/extensions
      - ./var:/app/var
    entrypoint: ["php", "/app/artisan", "offsite-backups:work"]
The panel scheduler is also required
Retries, retention and scheduled backups run from the panel's scheduler. Confirm this cron exists:
sh
* * * * * www-data cd /path/to/pterodactyl && php artisan schedule:run >> /dev/null 2>&1Confirm the worker is alive
sh
php artisan offsite-backups:statusQueue mode ............ dedicated
Worker ................ online
Stored ................ 2.67 MiB in 1 copies
Queue depth ........... 0If it says offline, the worker is not running. The admin Overview shows the same as a red banner.
Small panels
If you only ever copy small backups, you can choose Settings → Queue worker → Panel queue worker and skip the separate worker. Do not do that if your backups are large — transfers will be cut short.
3. Choose where backups are stored
Admin → Offsite Backups → Backup storage
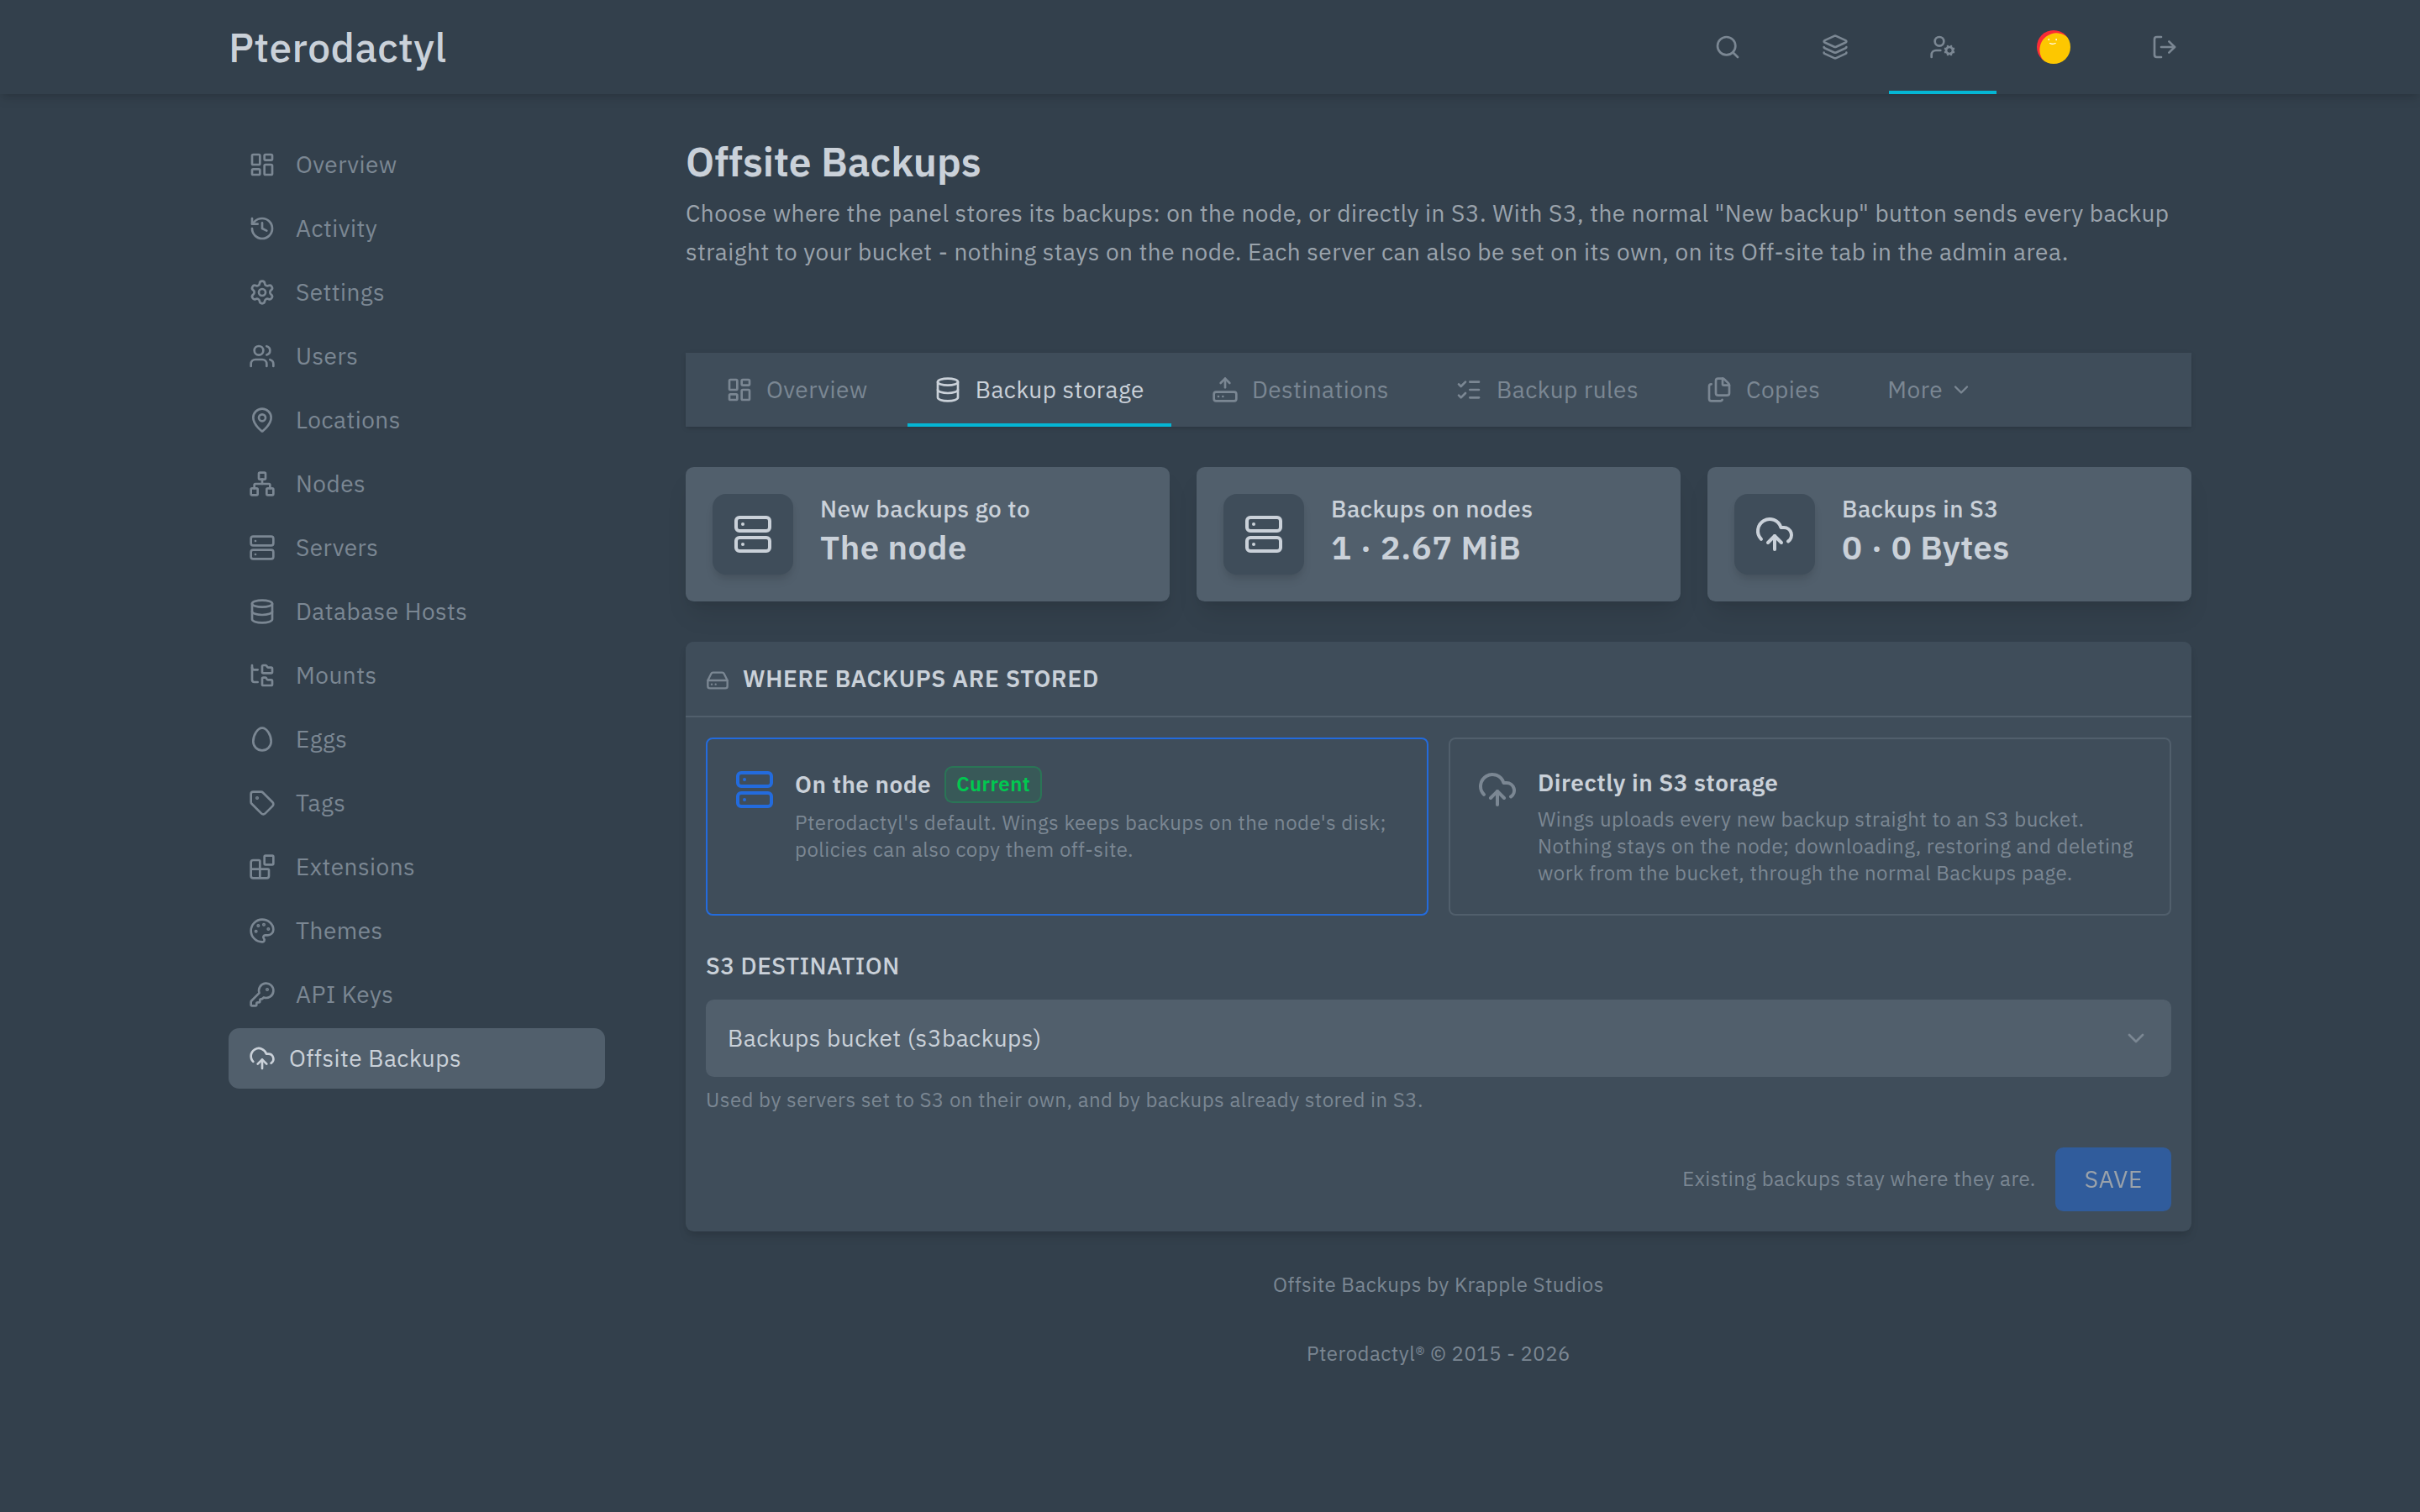
| Mode | What happens |
|---|---|
| On the node | Normal Pterodactyl behaviour. Add a backup rule to also copy off-site. |
| Directly in S3 storage | The normal New backup button uploads straight to your bucket; nothing stays on the node. |
A single server can override the panel-wide choice under Admin → Servers → (server) → Off-site.
4. Add a destination
Destinations → Add destination
- Pick the storage kind (S3-compatible or SFTP), and for S3 the provider preset.
- Enter the display name, endpoint, region, bucket, prefix, access key and secret.
- Click Test connection. Every step must turn green:
resolve → write → read → size → delete, each with a timing. - Click Create destination.
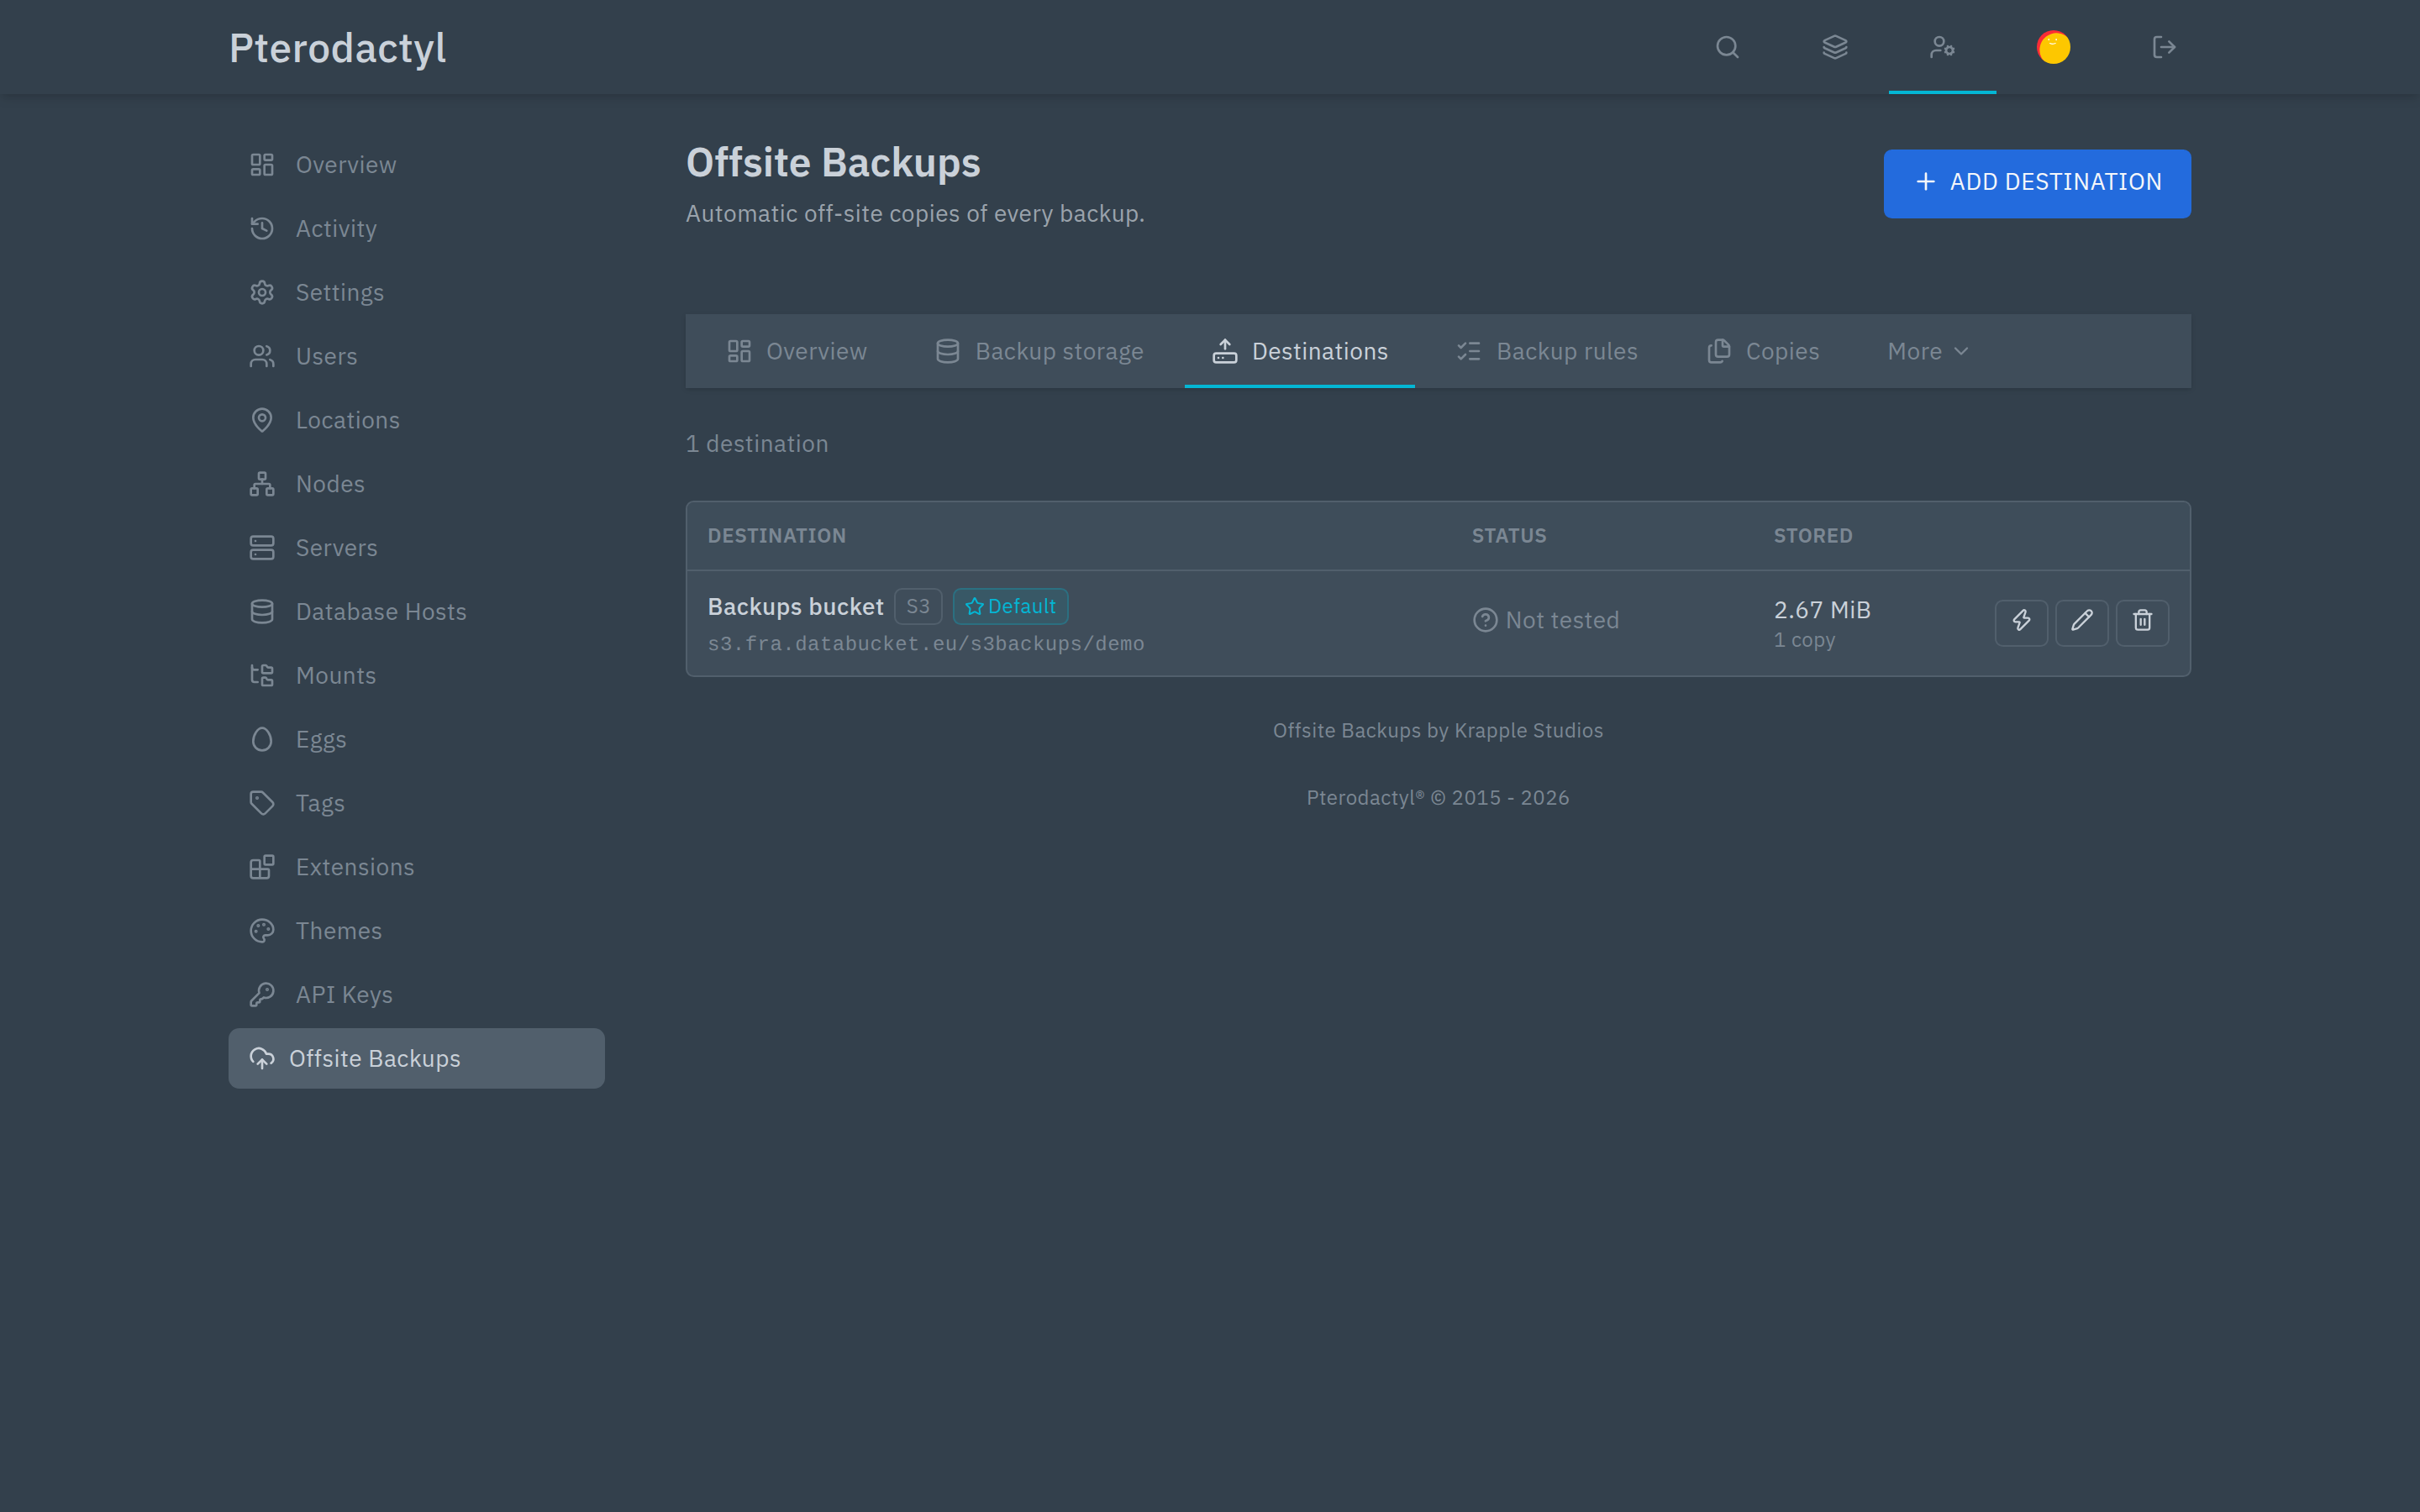
For SFTP, click Pin this host key after a successful test. Restores are refused until the host key is pinned — this is deliberate, to prevent a man-in-the-middle.
Provider-specific values are in Storage providers.
5. Create a backup rule
Backup rules → Create rule has four steps:
- Which servers? — all servers, specific nodes, egg tags, or a hand-picked list, with exclusions.
- Where to store? — tick one or more destinations. The first is the primary copy.
- What should this rule do?
- Copy existing backups — copies what is already there, once
- Create backups on a schedule — for example every 24 hours at 03:00
- Both
- Keep and clean up — retention (newest N, grandfather-father-son, or maximum age) and how many local backups stay on the node.
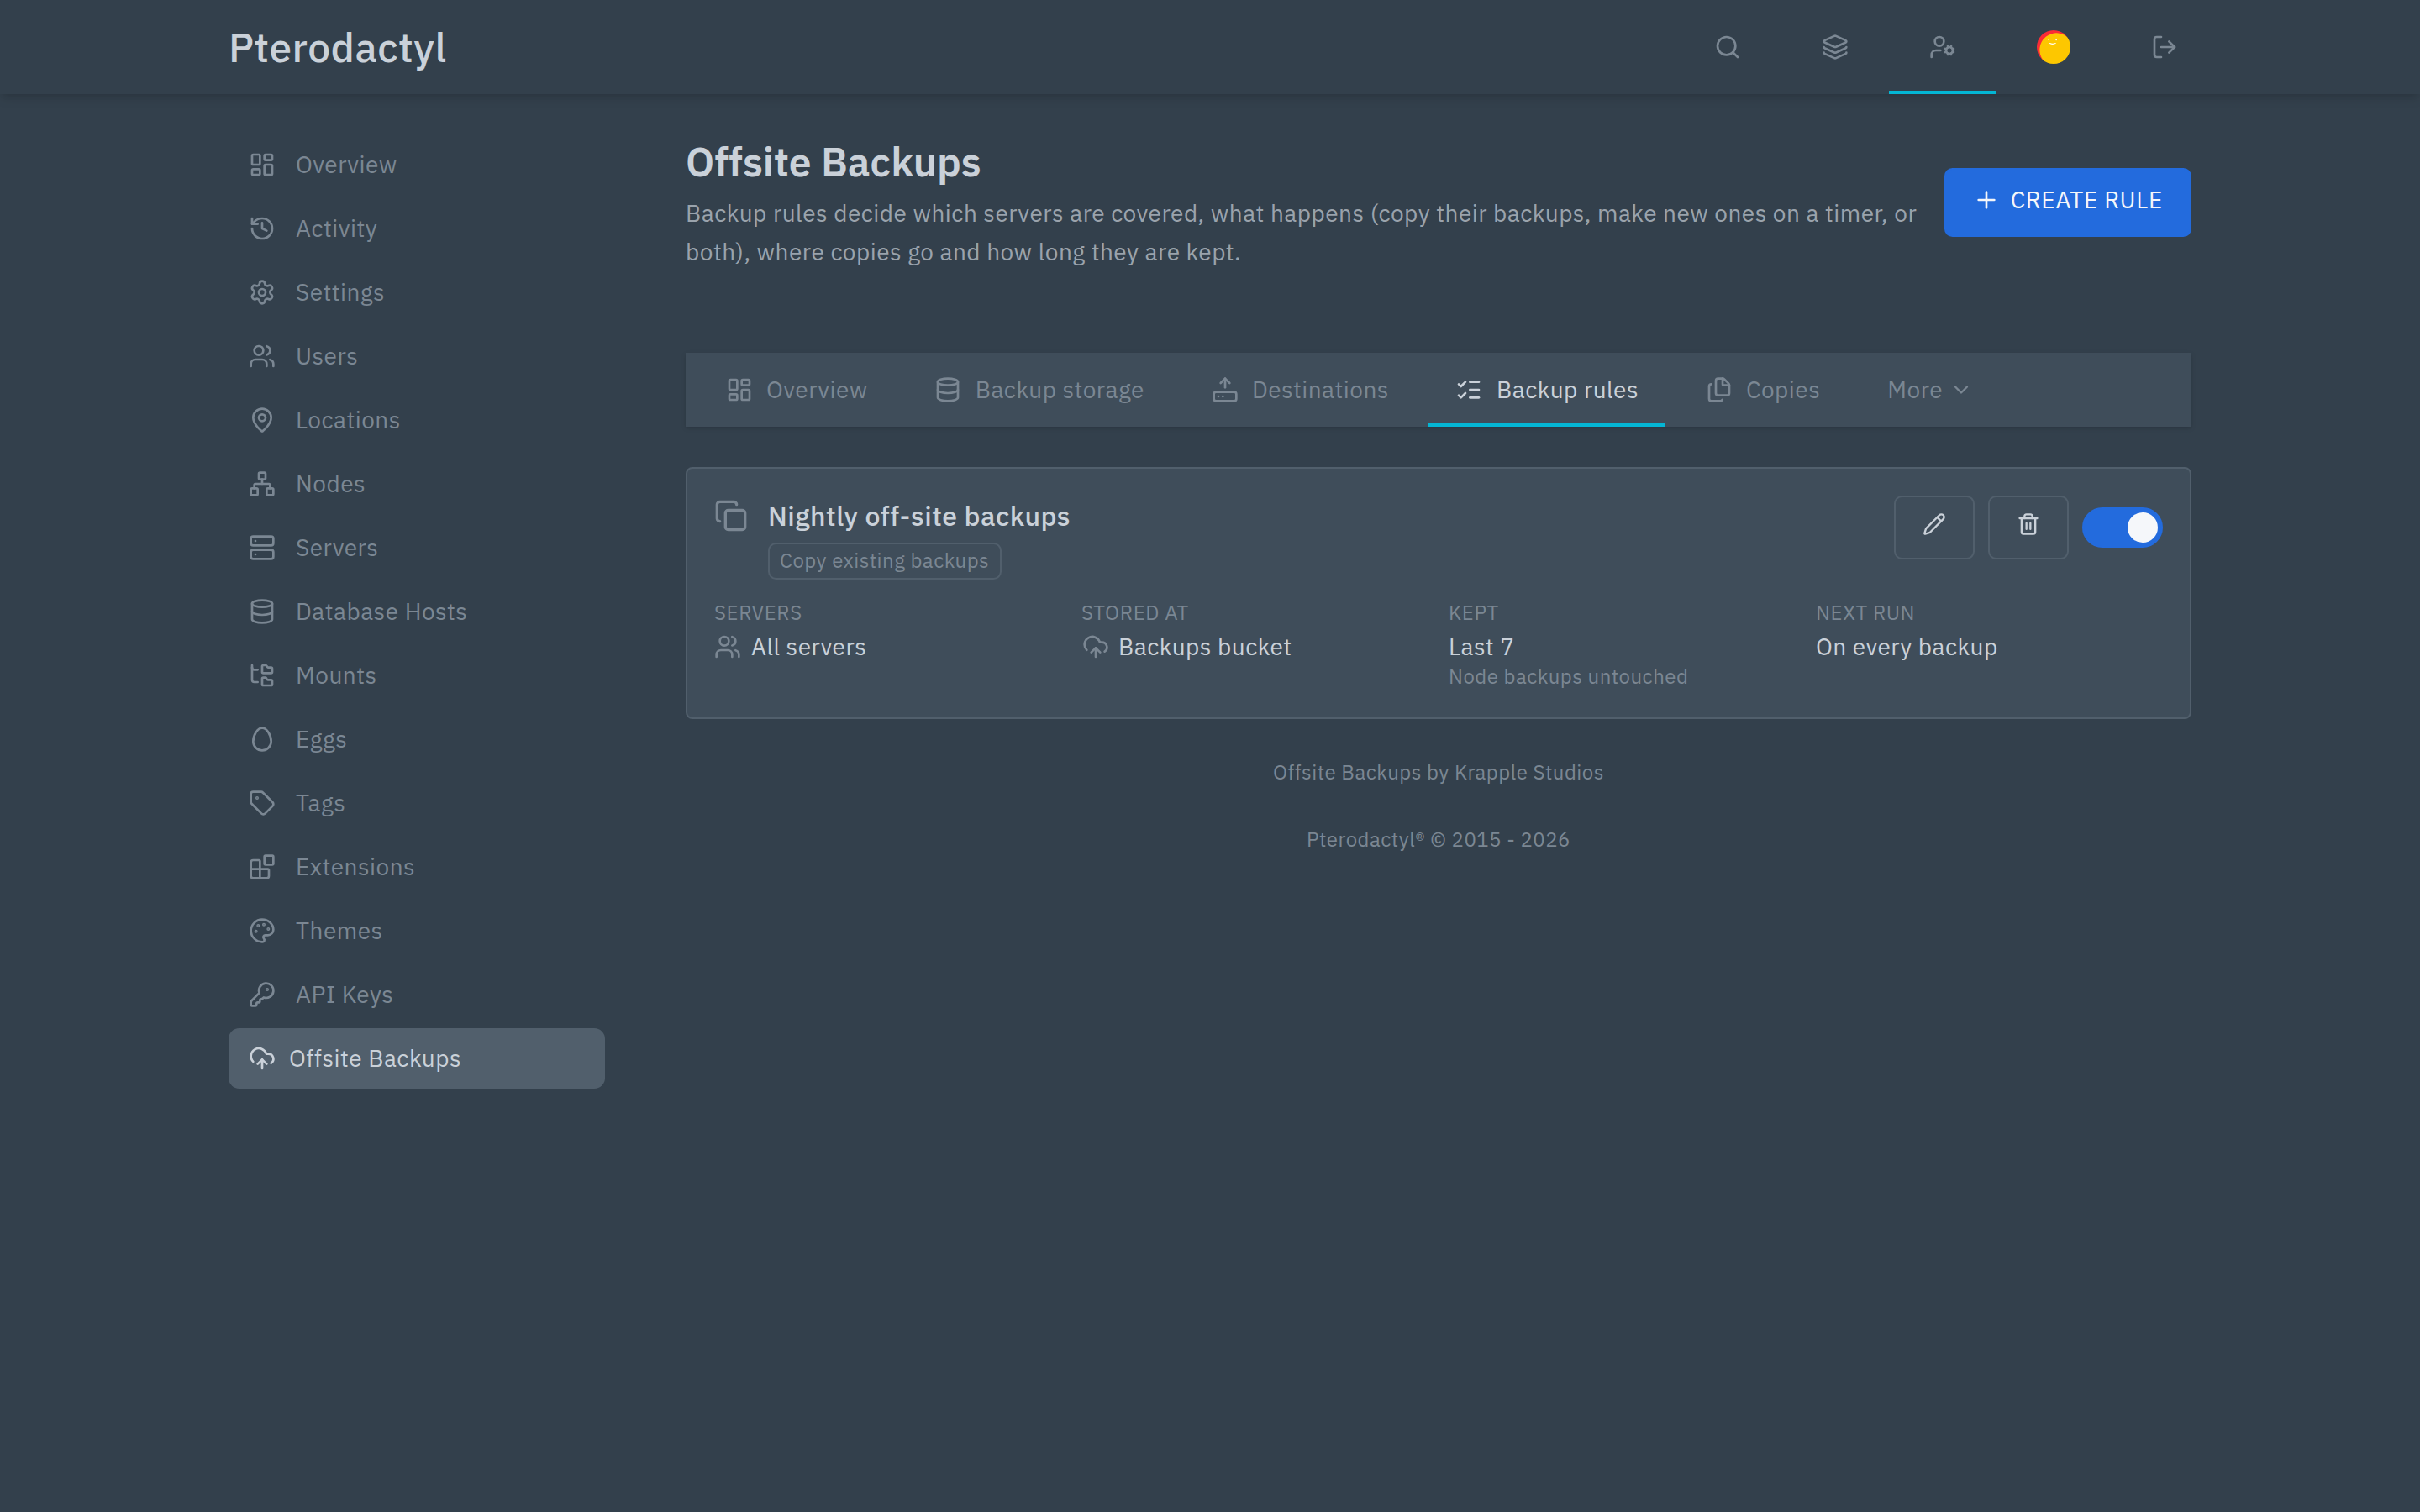
The rule is checked every minute by the scheduler and runs itself when due.
6. Verify it works
- Go to a server → Backups → New backup.
- The row should show Uploading, then Verifying, then Off-site.
- Admin → Offsite Backups → Copies should show the copy as completed, with its checksum.
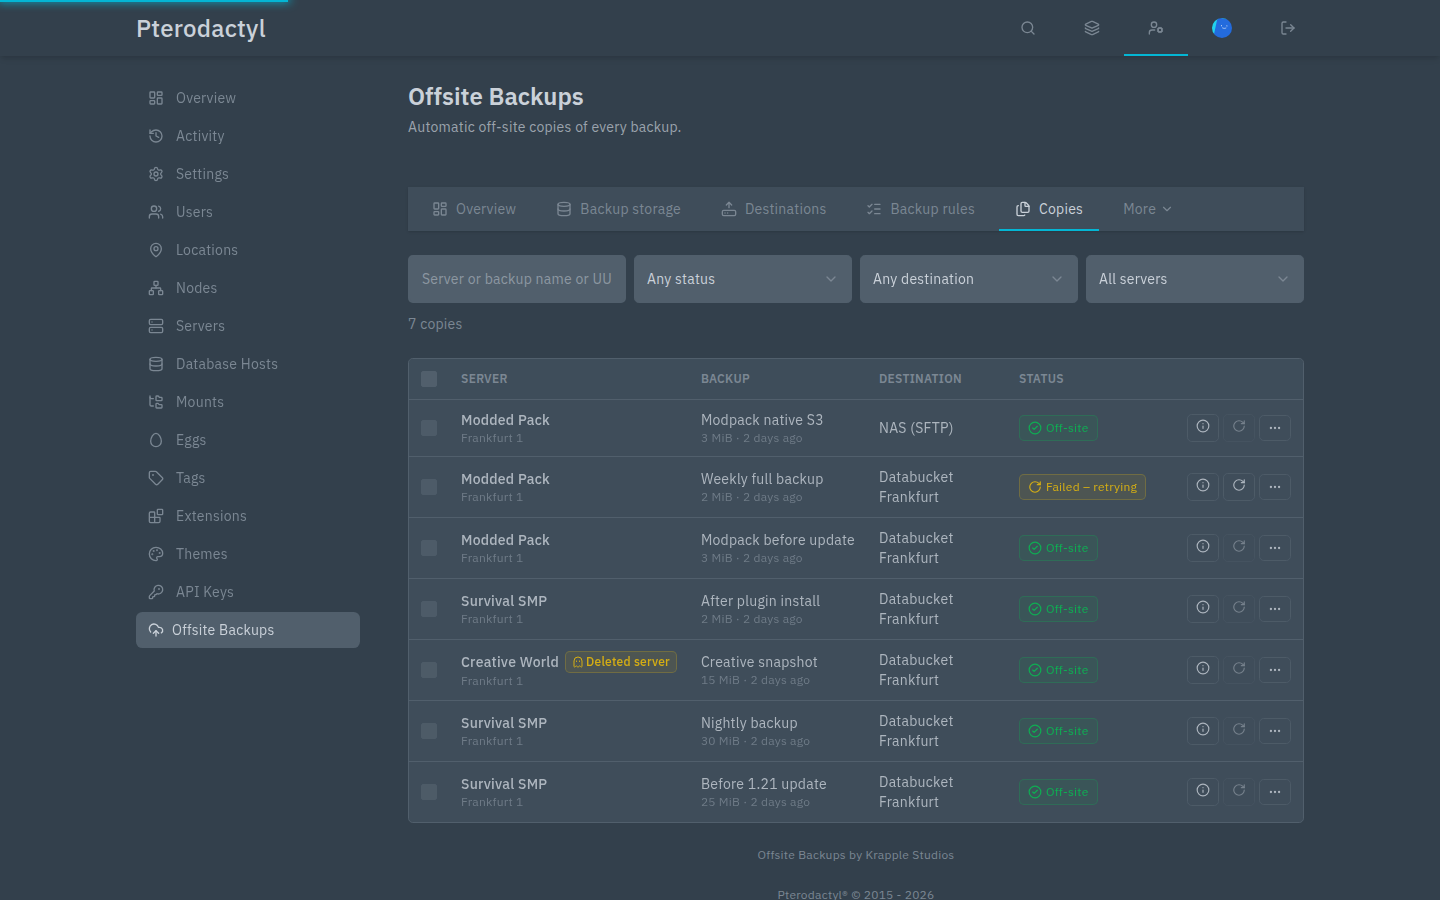
If the row stays on Local only, the copy never started. See Troubleshooting.
7. Optional: encryption
Settings → Encryption, or per rule. Before you enable it:
- Turn it on.
- Go to Keys → Export recovery kit and store the file outside the panel — a password manager, a safe, or an offline vault.
- Test-restore one encrypted backup.
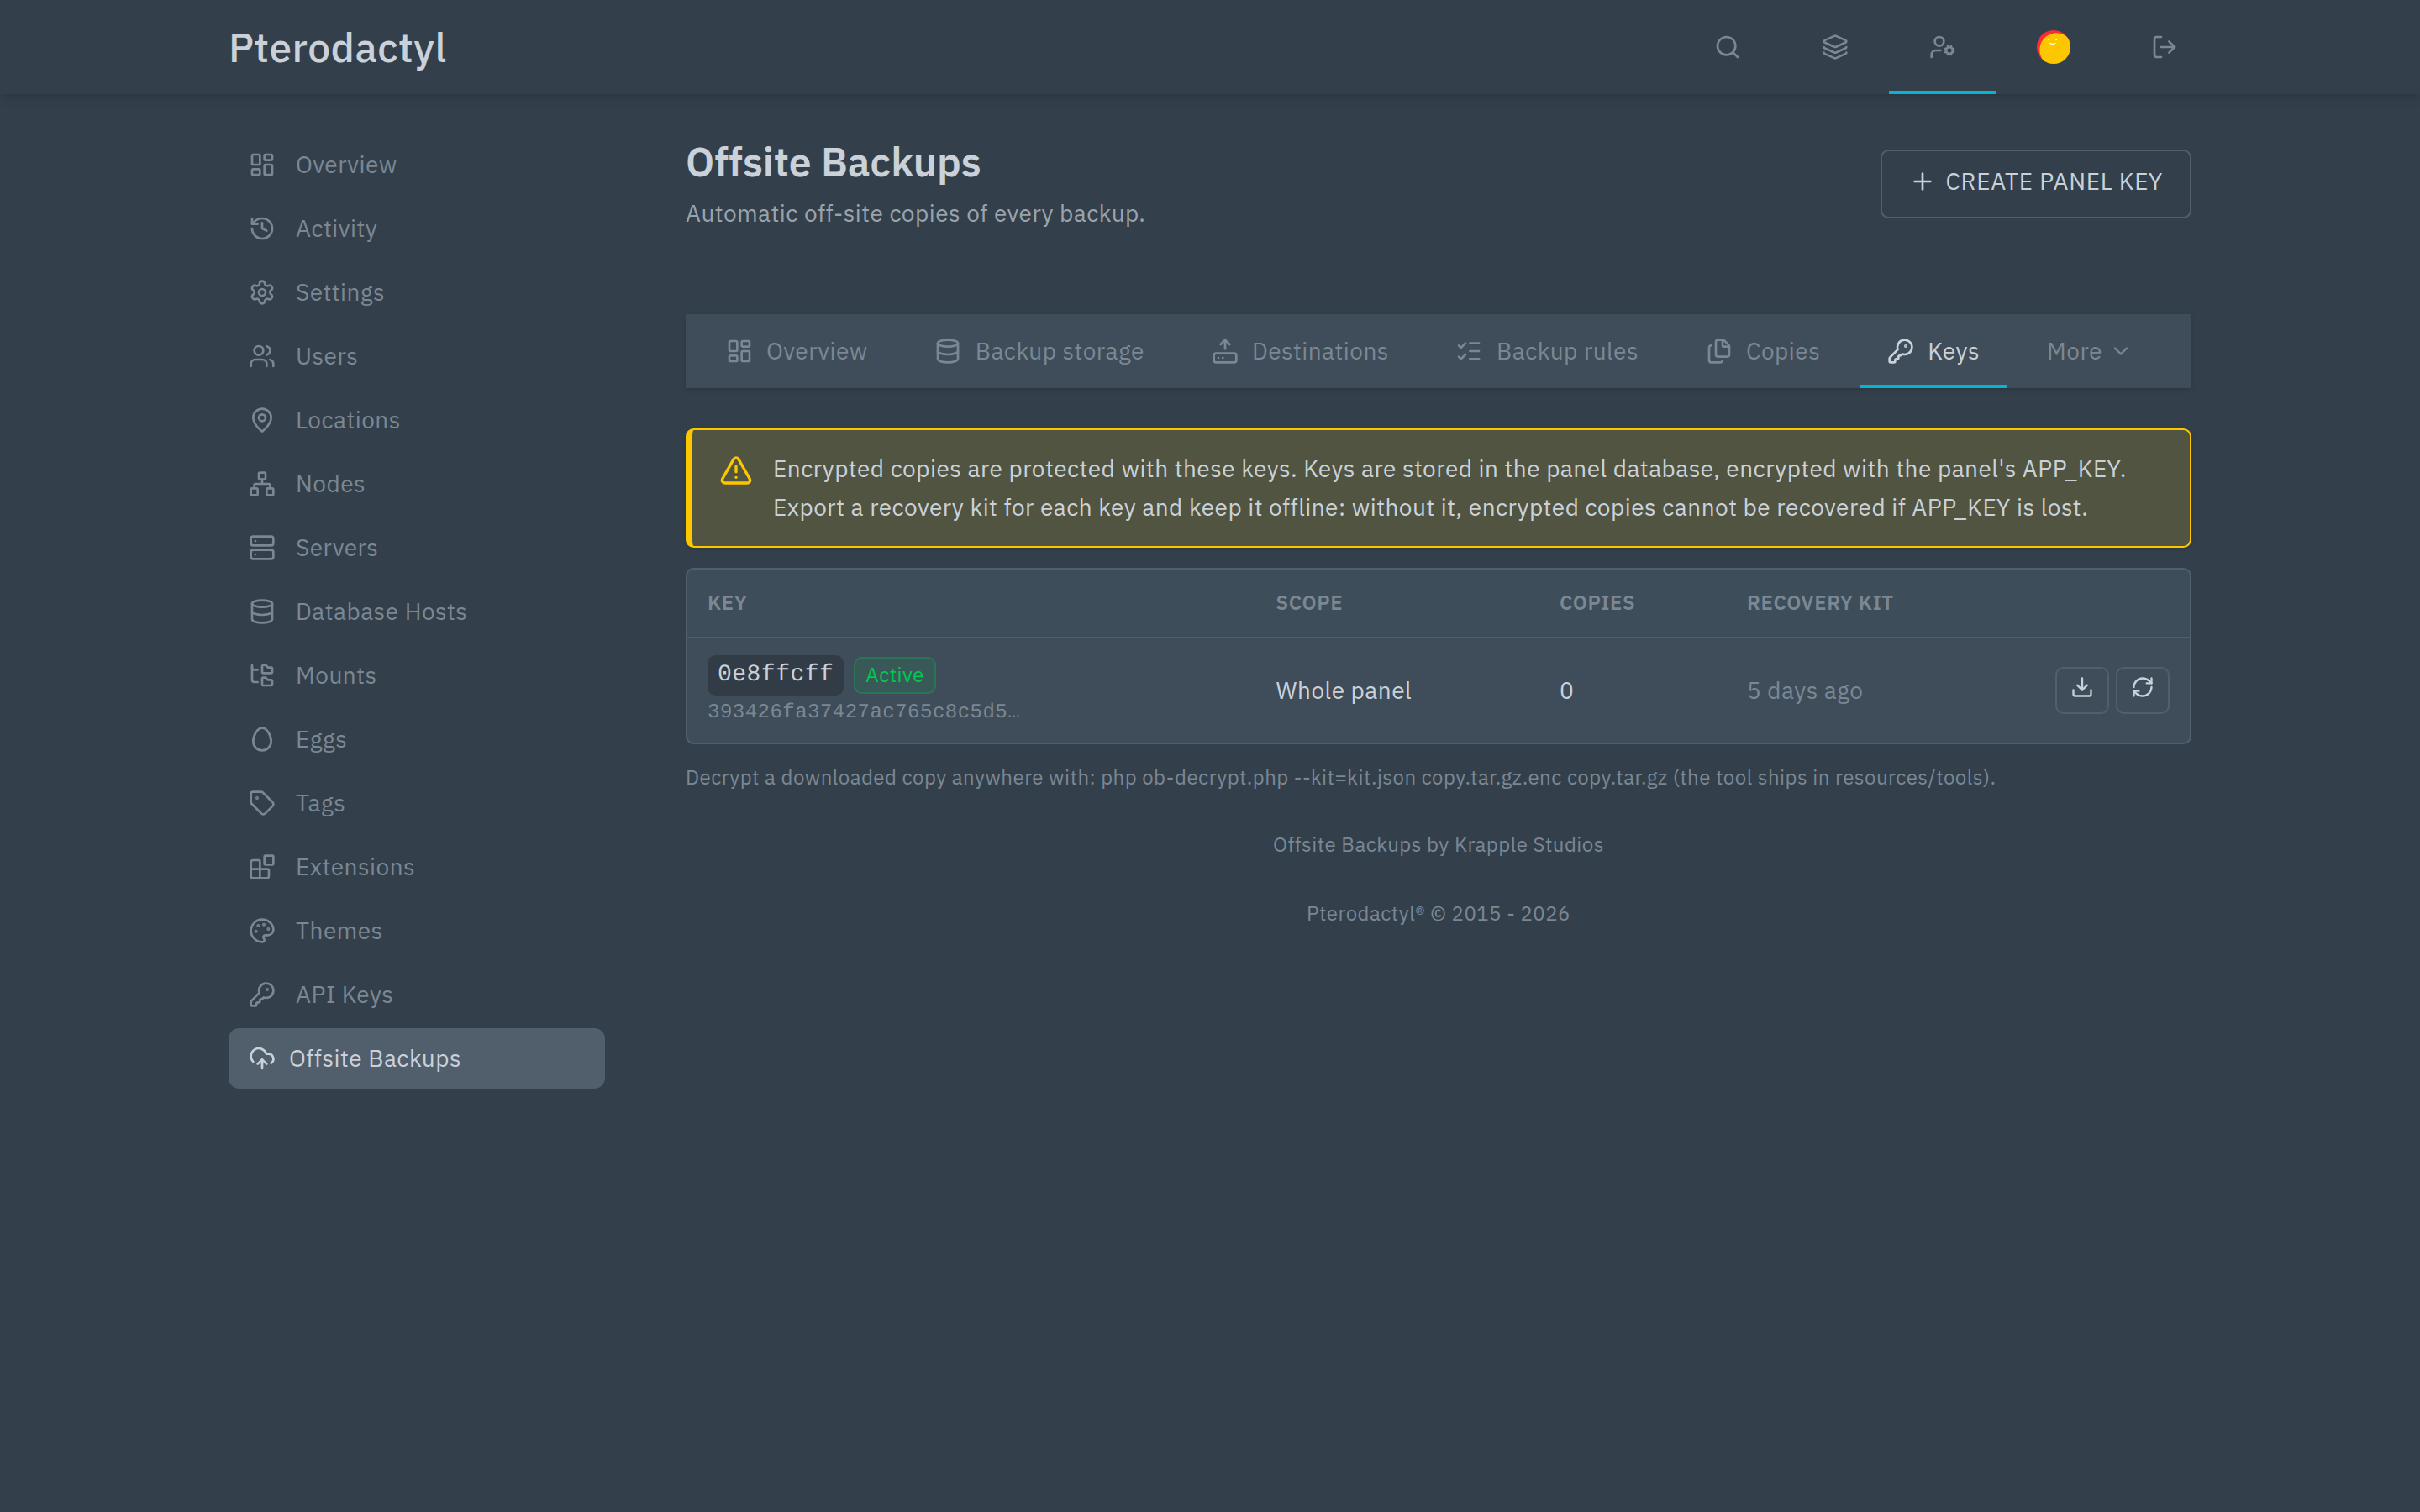
DANGER
If you lose the recovery kit and the panel's APP_KEY, encrypted backups cannot be recovered by anyone, including us. The decryption tool needs the kit as well.
Uninstalling
Disabling stops all transfers but keeps the data. Removing deletes the extension's own records.
Before removing:
- Destinations → Test connection on each destination one last time.
- Copy anything you want to keep out of the bucket. Each copy folder contains a
manifest.jsonwith the original name, size, checksum and server, which is enough to recover by hand. - Use Copies → Export if you want a list of what was stored where.
sh
php artisan p:extension:remove offsite-backupsObjects already in your bucket are not deleted. Clean the bucket yourself if you want them gone.